A new school year is upon me and with that many topics that I will be covering with the students. This is one topic I cover with the students about artifacts and a little acronym to help you remember them.
I can’t take full credit for this acronym as the letters were first presented to me by Dr. Axel Ruprecht at the University of Iowa College of Dentistry (where I did my oral and maxillofacial radiology residency); however this specific order/word was created with the help of students at Iowa. I liked that it created one word and a word many dental students are familiar with.
Today is covering analog/film artifacts that are of increased density or blackness of the final image. Note: when referring to artifacts, the correct term is density and not radiolucent/radiopaque. The latter terms are used when referring to a part of the patient seen on a radiograph.
D = ↑ Development
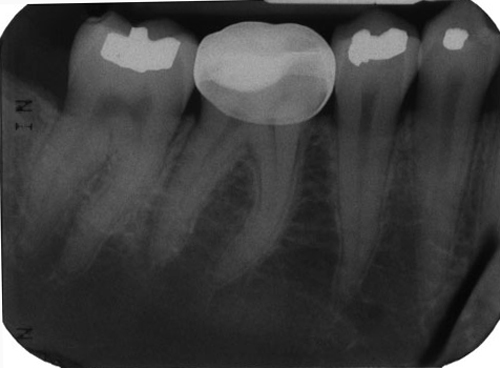
This occurs when there is increased development of the radiographic film meaning increased time the film is in contact with developer. There are two appearances possible with this artifact. The first one is an overall blacker image due to the film being in the developer for longer than the recommended time (set by the manufacturer).
Increased overall development.
The second is when a drop of developer comes in contact with the film prior to its placement in the developer. This creates a round area of increased density compared to the rest of the image. The second radiographic appearance is more common with manual processing or ‘hand dipping’.
Increased development caused by drops of developer.
E = ↑ Exposure
This occurs when the radiographic film is overexposed. There are a couple of ways this can occur. The first is increased time of radiographic exposure (i.e. using a molar time setting for an anterior radiograph) creating an overall blacker image.
Overall increased density due to incorrect time setting.
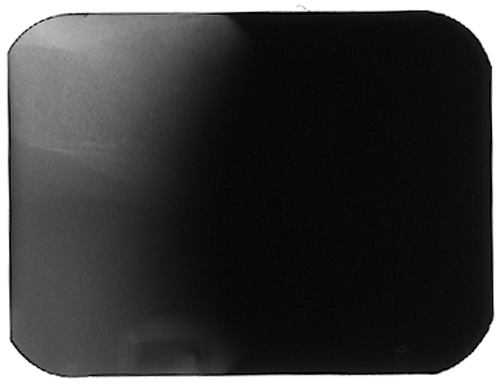
The second is by exposure to visible light, which can effect the entire image or part of the image. This typically occurs when the film packet is opened in the clinic and not in the darkroom. Under this type of exposure is another variant of exposure caused by static. There are a few different radiographic appearances of static – brush/comb, sunburst/starburst and lightning.
Film packet opened in clinic showing black area of final image where exposed to visible light.
Static over the roots of the first molar.
B = Bending
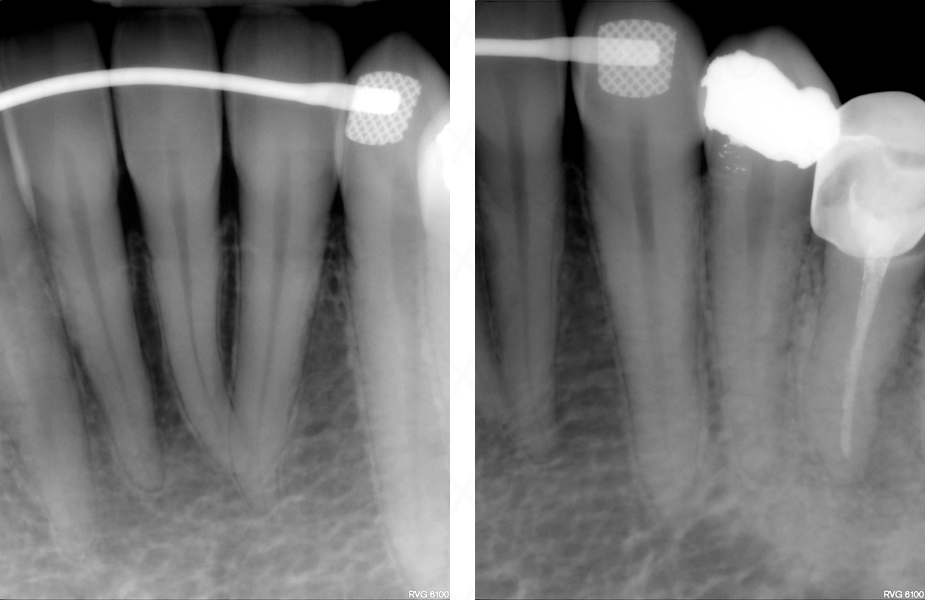
This occurs when there is bending of the radiographic film. There are two ways a bend can occur. The first is an intentional bend (typically in the corner to ease placement of the film). This results in a straight black line in the corner where the bend was made.
Intentional bend in right corner.
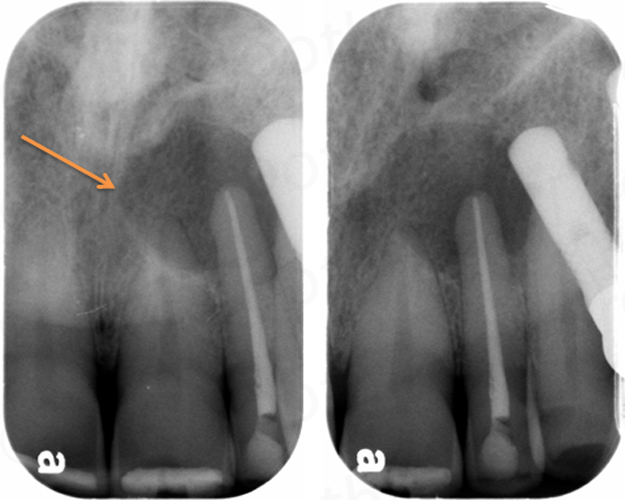
The second occurs typically when placing the film in an holding instrument (such as an XCP). If not careful with the placement you may press your nail (most commonly the thumb) into the film and create a bend. This results in a black curved line on the image.
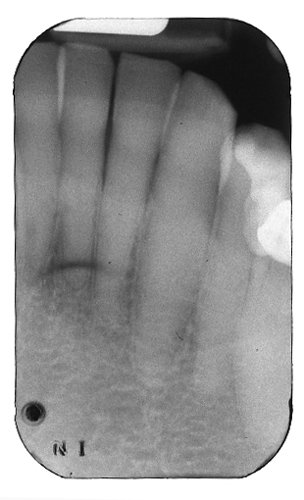 Fingernail bend over apex of central incisors.
T = ↑ Temperature (of the developer)
This last letter is very closely tied with the first letter as it relates to the temperature of the developer. If the temperature of the developer is increased, this results in an overall increased development of the film. This presents as an overall blacker image.
Increased temperature of developer creating an overall blacker image.
Next week = Analog/Film and decreased density
Thanks to Dr. John Brand for some of these images of artifacts.
I realize some of these artifacts have very similar appearances, hence I used the same images. The idea is to be aware of all the possible causes of an artifact such that it can be corrected if the radiograph must be remade. If you have any questions, please let me know.
Thanks and enjoy!


